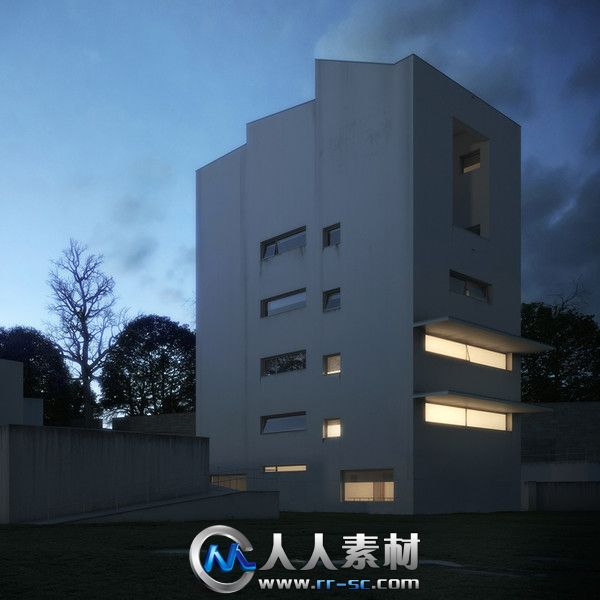

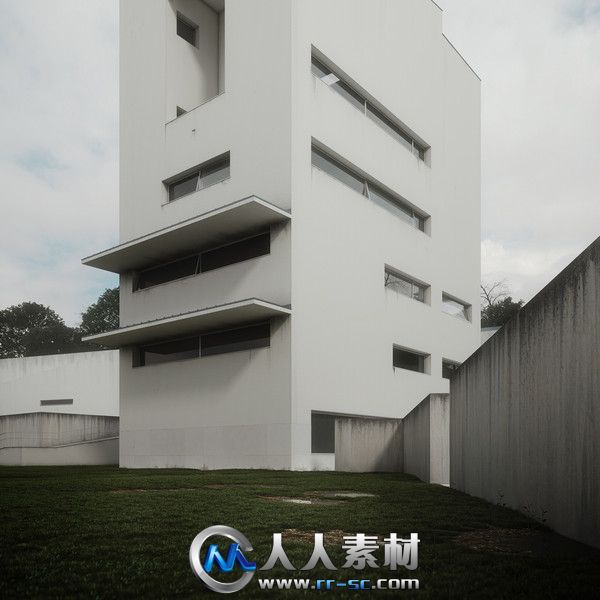
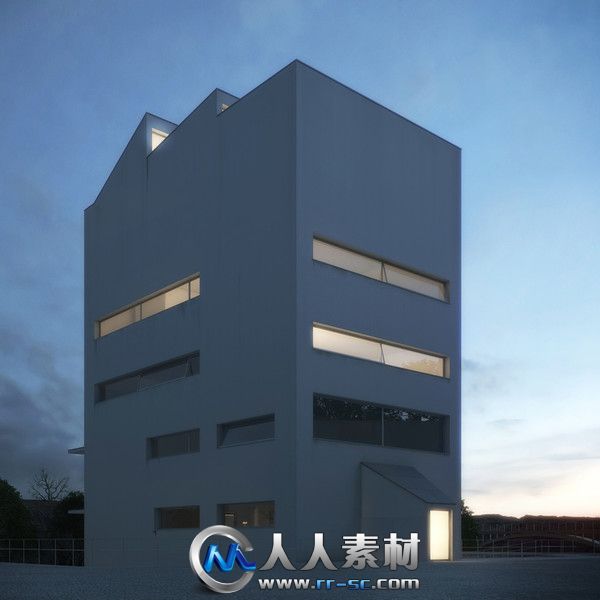
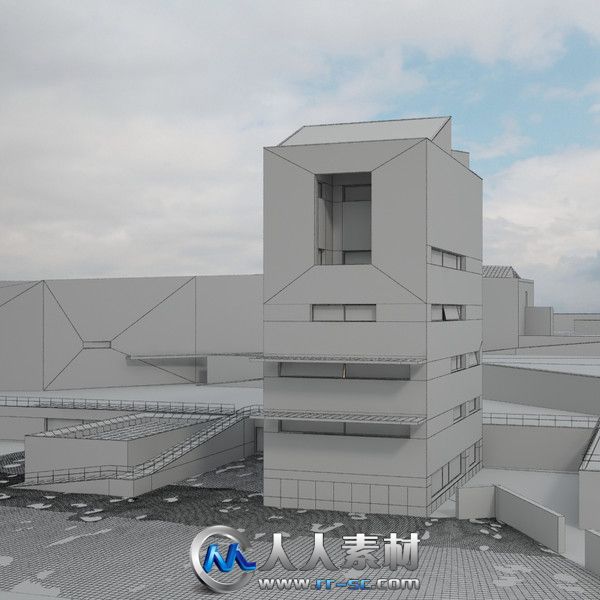
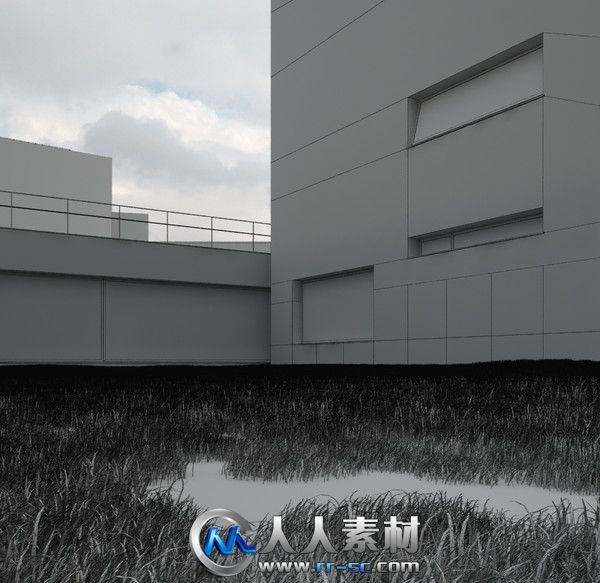
本3D模型是由TurboSquid机构出品的建筑大厦外观3D模型,Turbo Squid Exterior Building,大小:208 MB,格式:.max, .3ds, .fbx, .obj,人人素材整理发布。
Turbo Squid Exterior Building
High quality and fully shaded 3D Scene - ready to render -of an University building (FAUP), project of álvaro Siza Vieira, famous Architect. Overcast and Night mood, with 5 (five) cameras and several interior lights.
Several methods, inside 3ds Max, were used to achieve an high level of dirt detail. Advanced Materials - Mix of Composite, V-Ray Dirt and V-Ray Blend Materials. General grass distribution created with Multiscatter and MultiscatterMask. Probably a good scene to learn dirt and grass methodology, mood aspects, or even create commercial spots, walkthroughs, flythroughs or use it e.g. as a car environment scene.
Post Production, trees and small plants are not provided. 3D Grass is included.
********
Render average of 2 hours, 4000px largest size in a Dual Xeon Workstation.
********
Software:
3ds Max
********
Plugins :
V-Ray 2.10
Multiscatter
********
Free Plugins:
Multitexture
Unique Material ID
Advanced Painter
Notes about rendering:
To render overcast version:
-Hide Geosphere Sunset object;
-Unhide Geoshere Day Overcast;
-Turn off all Vray lights in the interiors;
-Turn on VRay Light Overcast.
Notes about Multiscatter:
In Max preferences - Viewport settings - choose driver as Direct3D. There is a bug with Nitrous and Multiscatter making the viewport navigation extremely slow.
Notes about final rendering:
-For the final renders, I personally advice to render the scene first in a low resolution (640x480px) and in both Irradiance Map and Light Cache render end settings save each map (*.irr and *.lc) to a folder.
-Press render.
-Once the Irr and Lc maps are calculated, change to a good resolution, and in both Irradiance Map and Light Cache render end settings load each previously saved map (*.irr and *.lc).
-Render the final image.
Notes about post production:
While rendering, as you might have noticed, the Vray Frame Buffer is turned on. As usual, you can either tweak the levels and curves in the VFB, or ignore this and to it in Photoshop or other program.
I advice to also make use of color balance in Photoshop, tweaking the shadows to warmer colours, the midtones to a more blueish tone, and a bit of cyan in the highlights.
http://www.rr-sc.com/thread-16435660-1-1.html
如有问题,请联系邮箱:rrscteam@qq.com
